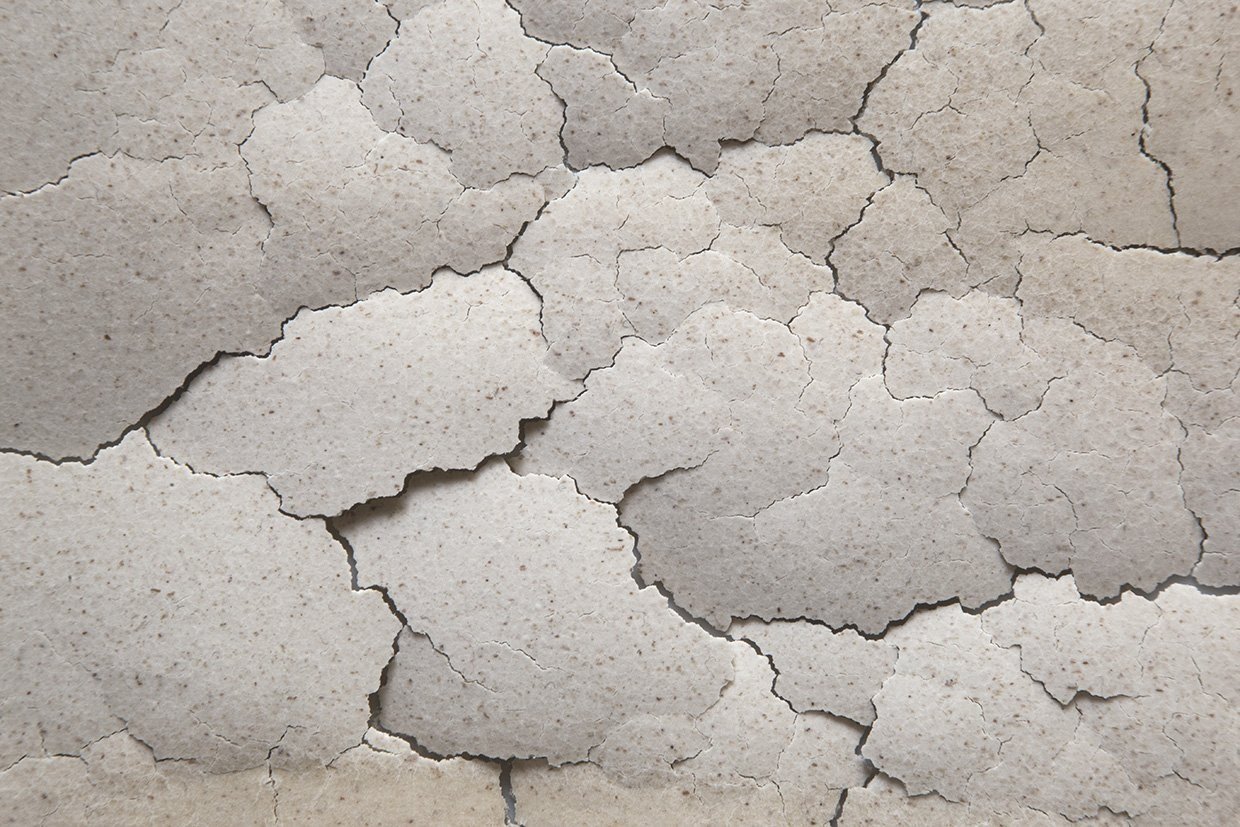
SOURDOUGH FLAKES
The small bag contains a dormant community of sourdough resident microbes naturally dehydrated. This is an amazing way to share with you the goodness of the homegrown sourdough starter developed at the studio and at the same time a sustainable way to repurpose the otherwise discarded sourdough starter between the feedings.
Before using the sourdough flakes, we follow the process of revival to a strong sourdough starter for baking. It is an easy procedure if you decide to slow down, take the time needed and fully immerse yourself in the process.
See the changes at your sourdough starter, see it bubble and grow day by day.
Give it your energy, love and attention.
Make it yours.
Then see all that devotion coming back to you in the form of an amazing grounding and nourishing sourdough bread, focaccia or other baking goods.
SOURDOUGH FLAKES REVIVAL PROTOCOL
INGREDIENTS
1 package SOURDOUGH FLAKES
60 g + 60 g unbleached bread flour
80 g + 60 g filtered water, lukewarm (around 28°C)
EQUIPMENT
-a non reactive container (glass is best so that you can monitor the growth of the starter)
-a rubber or wooden spatula
-a food scale
PROCESS
DAY 1
In a non-reactive container combine the contents of 1 package SOURDOUGH FLAKES and 80 g lukewarm filtered water. Let the sourdough flakes hydrate for at least 30 minutes. After that time add 60 g unbleached flour. Stir everything together thoroughly and make sure there are no dry flour lumps in the mixture. Cover the container loosely and let the sourdough starter incubate at room temperature (about 25°C) for about 12 hours.
12 HRS LATER // You might already see some activity and bubbling; a fresh, fruity aroma, and some evidence of expansion.
Add again 60 g unbleached flour and 60 g lukewarm filtered water. Stir everything together thoroughly breaking any dry flour lumps that might form. Let it incubate for another 12 hours. This time mark the level of the sourdough starter on the jar using an elastic band or a permanent marker to observe its growth.
DAY 2
24 HRS LATER // you will most probably see some considerable activity and rise of the sourdough starter level. Your sourdough starter is already active and you just need a couple more feedings to fortify it. Discard 60 grams of the sourdough starter and add 60 g lukewarm water and 60 g of unbleached flour. Mix well again and let it rest at a warm spot for 12 hours.
DAY 3 + DAY 4
Continue the same protocol with discarding and feedings every 12 hours until you observe considerable activity, bubbling and a tangy smell.
If you observe no activity yet, discard 60 grams of the sourdough and complete the feeding protocol adding 60 g lukewarm water and continue the same protocol with discarding and feedings every 12 hours until you observe considerable activity, bubbling and a tangy smell.
You can now use it only after you have activated it (see BEFORE BAKING) or maintain it (see MAINTAINANCE).
BEFORE BAKING
Always activate your starter before baking. Discard 60 grams starter then add 60 g flour and 60 water. Let it grow at room temperature for at least 4 - 6 hours. There is a growth threshold of the sourdough starter when it is growing then stops and starts deflating. You shall use It at the growing state when its top surface forms something like a puffed pillow.
NOTE: This recipe will give you about 140 grams starter. If your recipe calls for more, add more flour and water proportionally.
MAINTAINANCE
If you don’t want to bake immediately, you can store it at room temperature and feed it everyday with the same protocol, or store it in the refrigerator and remember to take it out and feed it at least once a week.
TIP 1 : Use a non reactive container (like glass, ceramic or stainless steel) - to store your starter. We recommend glass so that you can monitor easily the growth of the starter. A repurposed clean jar can do perfectly. Just make sure it is large enough to fit the starter. Your starter portion should be 1/3 of the container’s volume.
TIP 2: Use good quality of water preferably filtered (or bottled) water to exclude the chlorine in tap water that will kill the necessary microbes we need to grow the sourdough and also avoid any unwanted contamination in the beginning.
TIP 3: How to test for lukewarm water if you don’t have a food thermometer? Mix 2/3 cold water with 1/3 of warm - boiling water and test the temperature with your hand. Is it pleasantly warm but not too hot? Then this is the right temperature. If you are using very hot water you risk burning the microbes in your sourdough community. Test the water with your own sensations and if you can tolerate its temperature and you feel a pleasant warmth then the microorganisms will be able to tolerate it as well.
NOTE - Sources of microbes in the sourdough : wheat grain, the air, your hands, the microbes living on your utensils and containers. Good hygiene is important when handling sourdough. We don’t want to kill everything but we dont want to transfer harmful bacteria to our starter.
The two most important types of microbes found in the sourdough starter are wild yeasts and lactic acid bacteria who will contribute in the acid tangy taste and smell of the sourdough. The complexity of the microbes population depends on many factors, like the flour you are using, the handling of the sourdough, the feedings schedule, the water, the climate and terroir at the area where you are, etc. Sourdough is a living community ecosystem.
The complexity of the microbial population will give a rich flavour profile to the bread and other baking products you will produce with it.
